
Liquify tool
Verification record: Umoupen 0.9.61 build 648 (2026-10-14) · Verification scope
Deform contours locally around a drag. To adjust part of a face or hairstyle, move a small area near the contour in short steps.
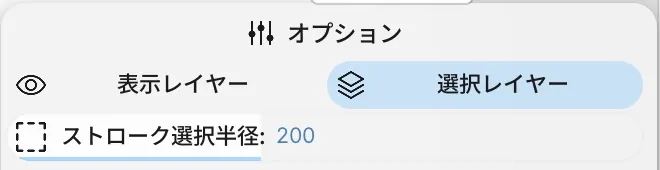
Location: Command search → Liquify Tool / Tool Options
Shortcut: J (Liquify Tool)
Move a contour locally
Section titled “Move a contour locally”- Select the layer and frame to edit, then unlock the layer.
- Switch to Liquify Tool. Its default key is J.
- In Options, choose Selected Layers.
- Drag a short distance from near the contour in the direction you want to move it.
- Release the mouse and check the nearby contours and the overall shape.
Dragging right near the girl’s face moved the contours around her face and neck to the right. Use ⌘Z to undo the last deformation.
Before
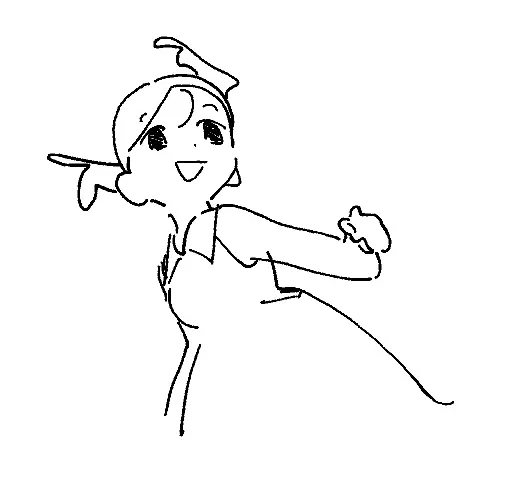
After

Choose a target
Section titled “Choose a target”| Option | Purpose |
|---|---|
| Selected Layers | Target the selected layers |
| Visible Layers | Target visible layers |
| Stroke Selection Radius | Set the area used to select the target |
To adjust only line art, select its layer and use Selected Layers. If the line art and fill boundaries become misaligned, undo the deformation and adjust the target and drag distance.
Choose between Liquify and Warp
Section titled “Choose between Liquify and Warp”Warp and Distort adjust shapes through grid points or transform box handles. Liquify makes a local deformation by dragging near the contour you want to move.
Related articles
Section titled “Related articles”Verification
Section titled “Verification”- Hands-on verified: Activated Liquify with J and checked Selected Layers, Visible Layers and Stroke Selection Radius. A short rightward drag deformed the face and neck contours on A, frame 1 of Symbol 9; Undo restored them. Captured before and after states in a separate article copy.
- Unverified: Multi-layer deformation with Visible Layers, effects of changing the radius, raster layers, and other drawings. Saving/reopening and Windows behavior were not reverified.