
Onion Skin
Verification record: Umoupen 0.9.59 build 628 (2026-10-05) · Verification scope
Onion Skin overlays surrounding drawings faintly on the current drawing so that you can check position, spacing, and arcs while drawing.
Location: Layout → Onion Skin / Timeline
Shortcut: O (Toggle Onion Skin) / , / . (Previous / Next Onion) / K (Frame Mark) / Enter (While positioning Tap Division images)
Toggle Onion Skin
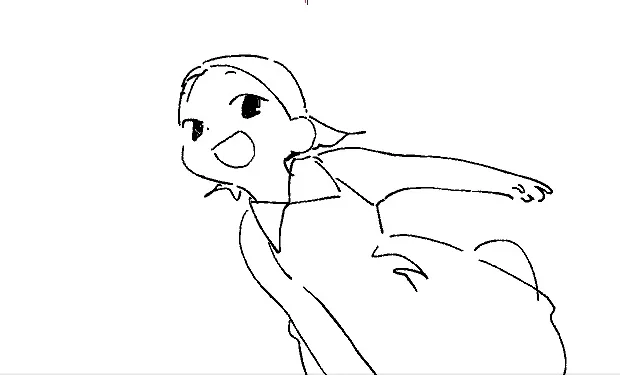
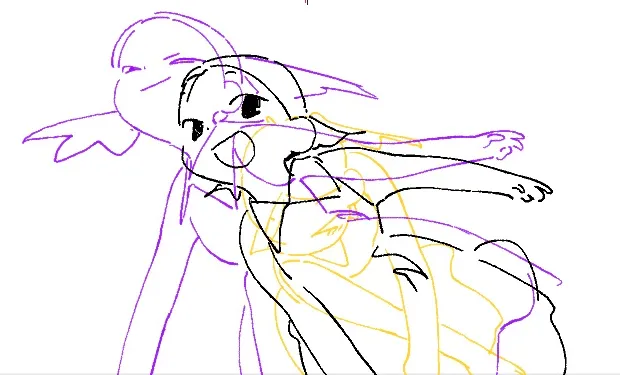
Section titled “Toggle Onion Skin”Press O to toggle Onion Skin. This example uses frame 29 on line-art layer A. When enabled, Onion Skin overlays the preceding and following drawings on the current drawing.
OFF
ON
Basic steps
Section titled “Basic steps”- Select the current cell in the Timeline.
- Enable Onion Skin.
- Adjust the display conditions in the settings panel.
| Option | What it does |
|---|---|
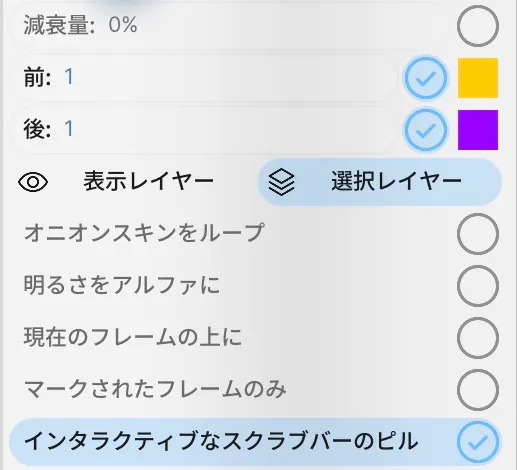
| Before / After | Sets how many preceding and following drawings are shown. |
| Selected Layers / Visible Layers | Limits which layers are included. |
| Marked Frames Only | Shows only drawings that have a Frame Mark. |
| Loop Onion Skin | Shows surrounding drawings across the beginning and end. |
| Lightness as Alpha | Uses the drawing’s lightness as its opacity. |
| Over Current Frame | Draws the Onion Skin above the current drawing. |
| Simple / Advanced | Switches how many options are shown. |
| Decrease By | Sets how much drawings fade the farther they are from the current drawing. |
| Show ghosts in their out-of-pegs positions | Shows the surrounding drawings where they were drawn instead of aligned on the pegs. Separate items drop all ghosts, or the current one, back onto the pegs. |
| Interactive Scrub Bar Pills | Allows hover, click, and range dragging on the onion pills in the scrub bar. |
When Onion Skin is enabled, colored indicators appear on the Timeline scrub bar to show the preceding and following frames being displayed. You can check the positions of the referenced frames on the Timeline.
With Interactive Scrub Bar Pills enabled, drag the Before and After indicators on the scrub bar to change how many Onion Skin frames are shown. The labels are Drag to change onion skins before and Drag to change onion skins after.
Align an in-between with Peg Field
Section titled “Align an in-between with Peg Field”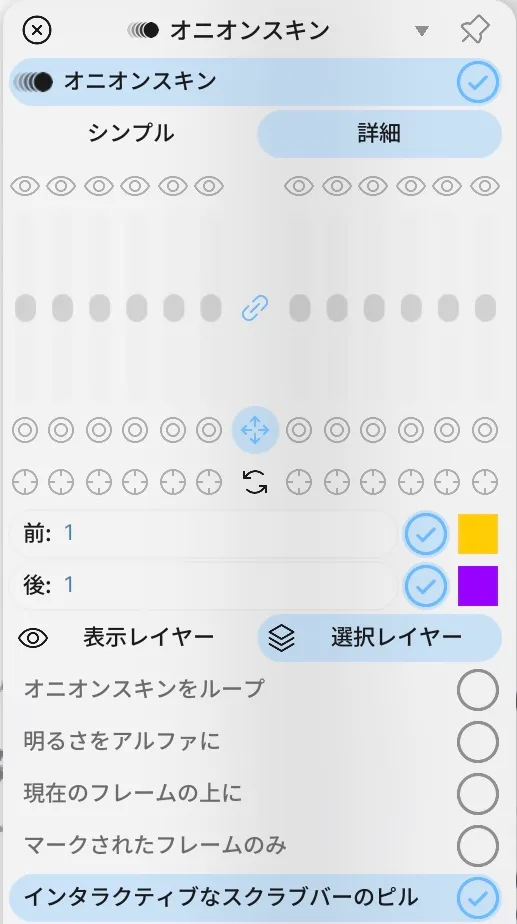
Advanced mode reveals placement and display controls for individual ghosts. This example shows one drawing before and after.
Here, Peg Field alignment moves only the surrounding Onion Skin display while leaving its source drawings in place, so that you can align an in-between. An in-between is a drawing placed between the key drawings that establish the main stages of an action.
- Choose Advanced in the settings panel and show at least one Before or After drawing.
- Press the crosshair button in the row for the drawing you want to move.
- Use the box that appears on the Stage to move, rotate, or scale the drawing.
- Press Enter to finish placing it. The box disappears, confirming the Onion Skin’s display position.
Move the next drawing’s Onion Skin closer to the current drawing’s face. Press Enter to finish placing it; the transform box and handles disappear.
- Return all drawings to their original positions: the circular reset arrow in the panel
- Toggle display at the offset position: the four-way arrow at the top of the panel, or the circle in each row
Inside a symbol, pressing Esc during placement may return to the parent shot (observed in build 638). Use Enter to finish placement.
If these buttons are hidden, switch from Simple to Advanced and show at least one Before or After drawing.
Show only key drawings
Section titled “Show only key drawings”- Select each cell you want to treat as a key drawing, then press K to add a blue Frame Mark.
- Enable Onion Skin.
- Set Selected Layers, Before, and After.
- Enable Marked Frames Only.
Only marked surrounding drawings are shown. Unmarked in-betweens are excluded.
If nothing appears
Section titled “If nothing appears”- Check that Before or After is enabled.
- Check the target layers and confirm that drawings exist before or after the current frame.
- If the view is limited to marked frames, confirm that the surrounding drawings have Frame Marks.
Related articles
Section titled “Related articles”Verification
Section titled “Verification”- Hands-on verified: Matched frame 29 of lineart layer A in Symbol 9 / Animation 1 to the previous article image. Enabled Onion Skin with O and captured the black, yellow and purple lineart and the Timeline before/after indicators. Retained the captured Simple and Advanced settings.
- Unverified: Verification is limited to the captured interface and the actions described above. All article procedures, setting effects, output files, saving/reopening and Windows behavior were not reverified.